Although each system has its own peculiarities, the general lines are maintained on all gaming computers: we have to select the best components, accompany it with the best peripherals and form your gaming equipment.
However, if you feel a bit overwhelmed with so many components: processor, motherboard, hard drive, GPU, and RAM, among others, we have got you covered. We have made research on the best configurations to leave you with the parts you have to buy to make your PC gamer work interruptions and that it is fast and powerful. Without further ado, let’s begin!
Set up a Budget
The first step to start setting up your gaming equipment is to manage your potential expenses. The budget will hugely depend on your ability to save, your monthly expenses and income and, above all, what you are willing to spend on your new PC.
With that being said, if you are unsure about spending extra cash onto buying a PC by pieces to improve your console gaming experience, remember that there is always a way to tune into browser-based titles, like these that revolve around Bovada baccarat games, and have fun from the comfort of your house in just a few clicks.
Another way to set up a new PC on a budget is to allocate your money wisely. In fact, the amount of 300 bucks to pay for some cheapest configurations may be enough. It will provide you with a fairly satisfactory gaming experience.
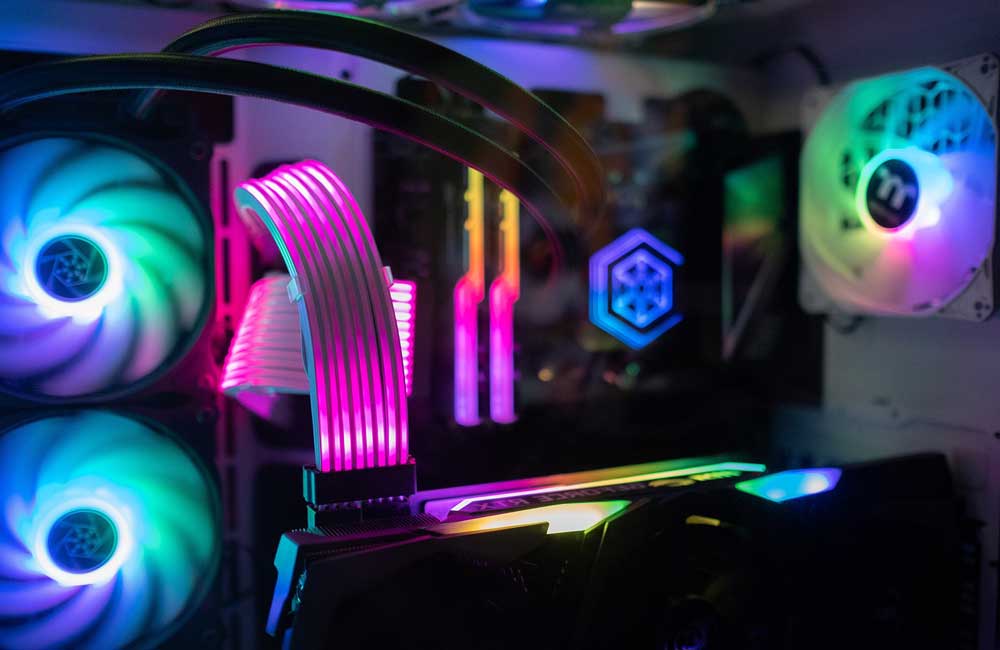
Choose the Right Components of your PC
Once we have an approximate idea of how much we are going to spend on our computer, the next thing is to decide on its configuration, that is, which components or parts are going to make it.
To begin with, the parts you have to buy to make your PC gamer work are the following:
Processor or CPU
Graphics card or GPU
Motherboard
RAM memory
HDD or SSD Disk
Power supply
Monitor
Peripheral devices
Of course, there are some exceptions to all this, and sometimes buying every single part for your new gaming PC is not the best option. Nevertheless, once you have acquired all or some of the requisite pieces, then you can move on to assembling the computer piece by piece. There are many step-by-step guides across the web in this area, most of which cover the topic in a very clear and concise way.
With that being said, if you want to be on the safe side, you can always take your components to any computer store and ask them to assemble it for you.
Set Up the System
Once you have your new computer assembled, with all the components well placed in place and the box closed, it is high time to turn it on for the first time. After this, you still will not be able to start playing with your new team. You must make the final adjustments first that have to do with your operating system.
Configure the BIOS
You will automatically enter the BIOS of the motherboard, from where you can configure a myriad of parameters. All you have to do is adjust the boot drive of our system and set the device on which you have the OS: the CD/DVD or a USB. If the unit in question is not among the available options, turn off the equipment, connect the unit and turn the system back on. It should be available now.
If you have an SSD and you are going to install your operating system on it, set it in the second boot position, behind the USB. Save the changes and turn off the computer.
Download the OS
Next up, you need to insert the disk or USB with the operating system and turn on or restart the computer. The system may ask you for confirmation to boot from the OS drive. If so, confirm and follow the steps marked by the assistant.
It’s very simple even for those who have never installed an OS, so you don’t have to worry about anything. Keep in mind only to choose the SSD as the drive for installation, if you have this type of hard drive.
Install the Drivers
For this part you have two options: install the ones that come on a USB when you buy the components or download the latest ones from the manufacturer’s website.
It is best to choose the second option, but you may not have an Internet connection yet, so you will have to choose to install the drivers. In any case, once those are installed, you can download the latest version.
Another possibility is to download the drivers from another computer with an Internet connection and save them on a USB. And from there you can pass them on to your new team.
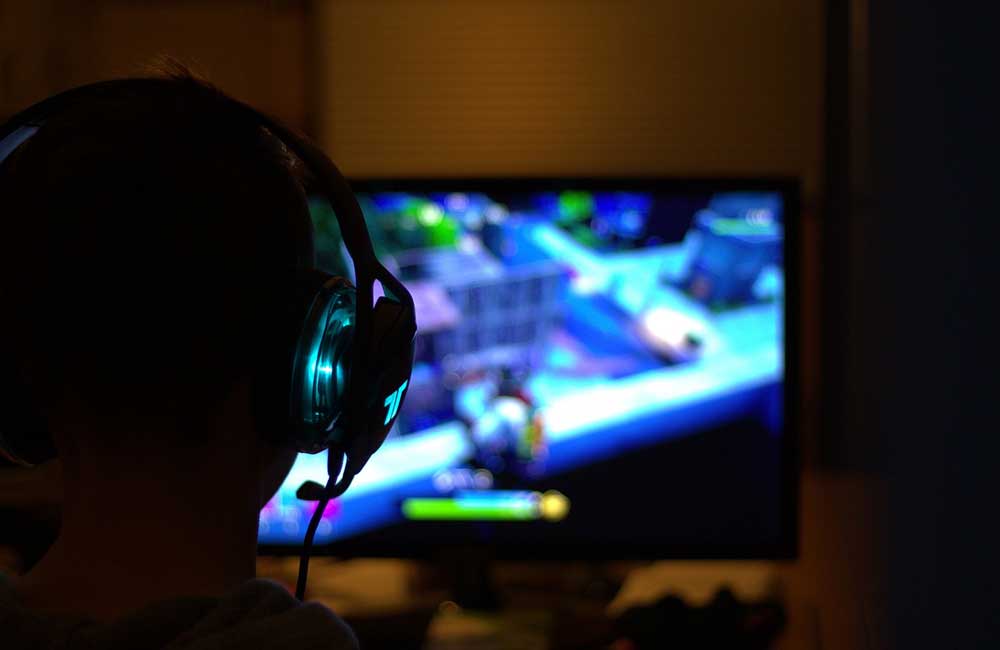
Wrapping Up
Here you go! You are now ready to enjoy your new equipment and play the latest gaming titles on the market with it. Surely, crafting your own PC is an experience that may forever change your perspective on pre-built computers. The experience from building your own personalized system is unparalleled and could leave you feeling unsaturated with store-bought alternatives.