Crafting a telescope or spyglass in Minecraft is an interesting activity, allowing you to stare at the stars and explore the wonders of the game’s world straight from your own blocky realm.
Minecraft is a game of endless imagination and potential. While it is famous for its blocky landscapes and pixelated aesthetics, users may build practically anything in its virtual environment.
Here, we’ll present the tutorial for building your own telescope and spyglass in Minecraft Bedrock and Java Editions.
What do you need to make a telescope?
You’ll need to gather the necessary resources which are:
Copper Ingots: You can find copper ore underground, usually between levels 48 and 63. Mine it using a stone pickaxe or better, then smelt it in a furnace to obtain copper ingots.
Amethyst Shards: Amethyst geodes are found underground, often in clusters. To obtain amethyst shards, right-click on the budding amethyst clusters with any pickaxe.
Glass Blocks: Smelt sand in a furnace to create glass blocks. You’ll need these for the telescope’s lens.
Wooden Blocks: Any type of wooden blocks such as birch, oak, or spruce could be used for the base of the telescope.
Redstone: Mine redstone ore, typically found below level 15, with an iron pickaxe or better. Smelt the ore into redstone dust.
Leather: You’ll need leather for the telescope’s eyepiece. Kill cows to obtain leather, then smelt it in a furnace to create leather.
Crafting the Minecraft telescope
Now, it’s time to build your telescope with the material you gathered using this recipe:
Copper Blocks: Create copper blocks by placing copper ingots in a 2×2 pattern on your crafting table. You’ll need a total of 5 copper blocks.
Amethyst Shards: Combine amethyst shards in a 2×2 pattern on your crafting table to create an amethyst shard block. You’ll need 1 amethyst shard block.
Glass Pane: Craft glass panes by placing 6 glass blocks in two horizontal rows on your crafting table, with 3 in each row.
Wooden Planks: Use your wooden blocks to craft 3 wooden planks. These will serve as the base for your telescope.
Telescope Frame: Arrange the copper blocks, amethyst shard block, glass pane, and wooden planks in the following pattern on your crafting table:
C C C
C A C
G W G
C = Copper Block A = Amethyst Shard Block G = Glass Pane W = Wooden Plank
Telescope: Drag the telescope frame into your inventory to complete the telescope.
How to use your telescope?
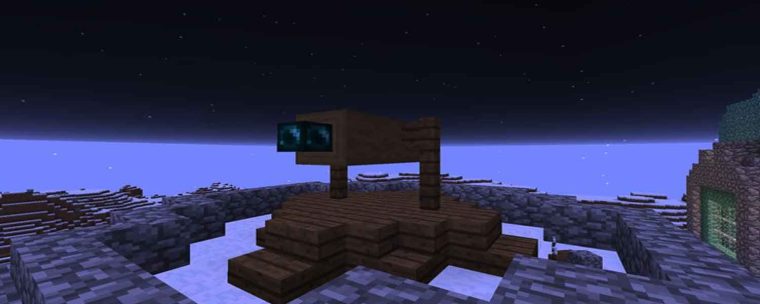
Once the telescope has been built, it is time to put it together. Right-click to set the telescope in the world after putting it in your hotbar. By right-clicking the telescope and adjusting it as necessary, you may change the angle.
It’s time to look at the stars now that your telescope is set up. You may observe the stars and other celestial objects by right-clicking the telescope to open the viewfinder and entering the celestial realm.
Even the Warden and the deep caverns, which were included in the caverns & Cliffs update, may be seen.
You could also watch this video of a giant telescope or observatory in Minecraft:
Build a spyglass in Minecraft
Minecraft’s vast and blocky world is filled with mysteries and wonders waiting to be discovered. One essential tool for explorers and adventurers is the spyglass.
Unlike making the telescope, for crafting a spyglass you’ll only need to resources: Copper Ingots and Amethyst Shards.
Once you’ve gathered the necessary resources, you’re one step closer to making your spyglass.
Here’s the spyglass recipe:
Copper Blocks: Create copper blocks by placing copper ingots in a 2×2 pattern on your crafting table. You’ll need a total of two copper blocks.
Amethyst Shard: Combine amethyst shards in a 2×2 pattern on your crafting table to create an amethyst shard block. You’ll need one amethyst shard block.
Spyglass Frame: Arrange the two copper blocks and one amethyst shard block in the following pattern on your crafting table:
C C C
C A C
C C C
C = Copper Block A = Amethyst Shard Block
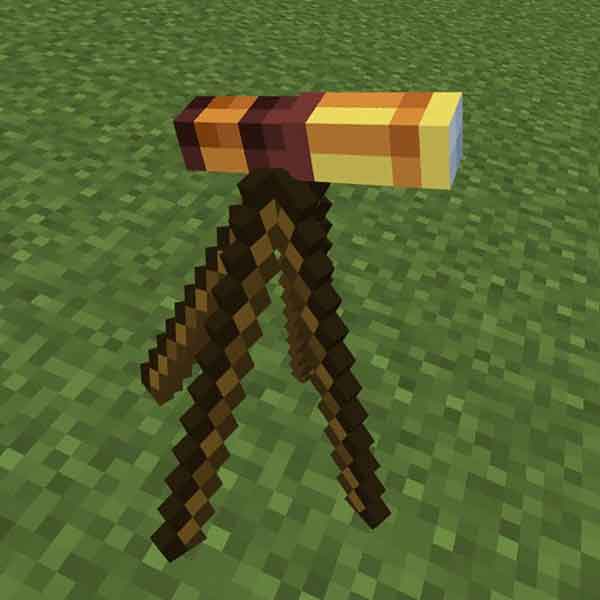
Now drag the spyglass frame into your inventory to complete the spyglass.
Using your spyglass
It’s time to utilize your spyglass now that it has been made. Select the spyglass after adding it to your hotbar. To zoom in and begin taking in your surroundings, use your right mouse click or the corresponding button on your platform.
You may use the spyglass to close in on far-off things, making it simpler to spot intriguing locales, look out for aggressive crowds, and even take in the scenery from a lofty vantage point.
For those who like exploring Minecraft’s enormous geography, it is a necessary tool.
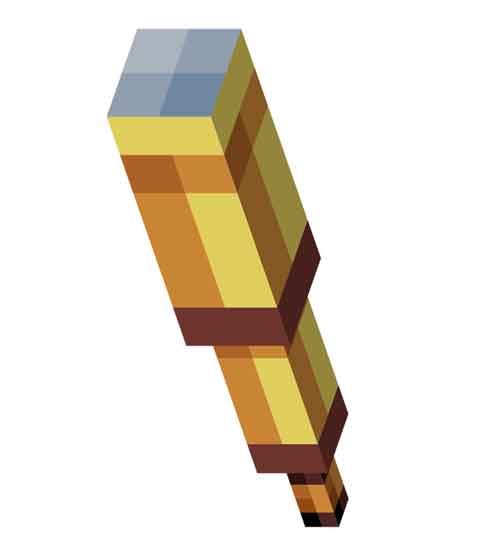
Although your spyglass doesn’t need much upkeep, it’s important to remember that it might get damaged with usage. Over time, the lens of the spyglass may degrade, affecting its zoom quality.
To repair a damaged spyglass, you can combine it with an anvil and some amethyst shards, just like you crafted the original spyglass.
Final thoughts
In addition to giving the game a fun and educational element, making a telescope or spyglass in Minecraft lets you explore the wonders of the virtual cosmos. You may build your very own telescope with only a few easy steps and some resource collection, then set out on a voyage into the pixelated night sky. So collect your supplies, build a telescope or make a spyglass, and get ready to be astounded by the wonders of the Minecraft world.
 It’s time to utilize your spyglass now that it has been made. Select the spyglass after adding it to your hotbar. To zoom in and begin taking in your surroundings, use your right mouse click or the corresponding button on your platform.
")
")
")

